When Rolls-Royce recalled the engine due to the turbine blade exceeding 0.008mm, when Apple shelved the whole batch of products due to the cell phone frame tolerance exceeding 0.02mm – CNC machining precision has long exceeded the technical indicators, and has become the life and death line of business success or failure. This article reveals the secret techniques of nanoscale control of the top manufacturers in Germany and Japan, and strikes at the 5 precision traps that engineers are most afraid of.
⚡️ CNC machining precision triple dimension: defining the life and death standards of industrial products
1. Dimensional Precision: The Micron Trial
Medical Grade Death Red Line:
| application scenario | Allowable Tolerance | The consequences of overshooting |
|---|---|---|
| Artificial Joint Spheres | ±0.003mm | Postoperative infection rate ↑300% |
| Aviation Fuel Valve | ±0.005mm | Leakage risk ↑150% |
| Cell Phone Seal | ±0.015mm | 25% waterproof failure rate |
The truth is revealed: labeled ± 0.05mm machine tool, the actual need to reach ± 0.015mm to meet the high-end demand
2. Shape accuracy: the invisible killer of surface
Roundness error > 0.01mm → bearing life plummeted 80%
Boeing landing gear case:
▶ failure to control the cylindricity → stress concentration → 100,000 takeoffs and landings after cracking
3. Positional accuracy: the culprit of assembly failure
Coaxiality exceeds 0.02mm → gearbox noise exceeds 85dB.
ZF solution:
▶ 5-axis machining datum → Positional accuracy reduced to ±0.008mm.
🔥 Five major cnc machining accuracy destroyers and countermeasure tactics
1. Nanoscale suppression of machine vibration
Vibration spectrum dark file:
| source of vibration | frequency range | destructiveness |
|---|---|---|
| Spindle unbalance | 500-800Hz | Surface corrugation >8μm |
| Guideway defects | 100-150Hz | Position deviation 0.03mm |
Nippon Makino Counterbalance System:
▶ Active magnetic levitation damper → 2000 times/second real-time compensation
▶ HSK-E63 toolholder → Radial runout <1.5μm
2. Temperature atonement for thermal deformation
Thermal Expansion Death Formula:
Deformation (μm) = Material Expansion Coefficient × Temperature Rise (℃) × Characteristic Length (mm)
Aluminum alloy horror data:
Temperature difference ±3℃ → 300mm part deformation 13.5μm
Swiss-class solution:
▶ Machine oil cooling system (23±0.5°C)
▶ Pre-cooling of workpiece at -10°C for 24 hours
3. AI prediction of tool wear
Edge radius > 5μm → Aluminum alloy machining burr height ↑ 200%
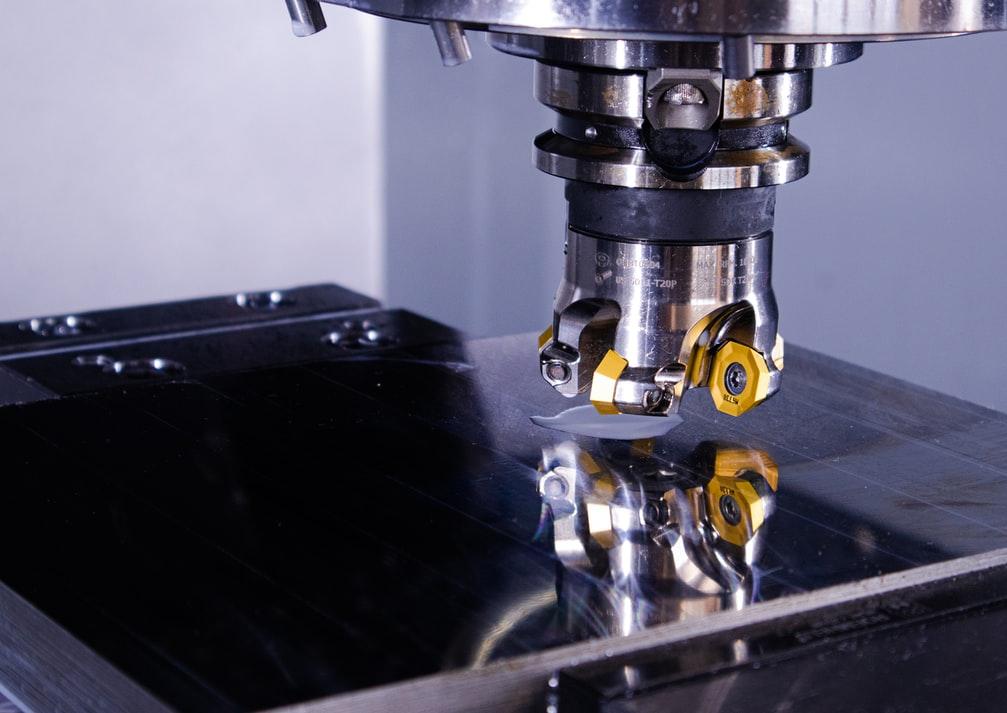
Mitsubishi Intelligent Monitoring System:
Remaining life (%) = (Initial edge sharpness – Real-time cutting force)/Material wear coefficient
▶ Tool change timing error <3 seconds
4. Mechanical game of clamp deformation
Clamping force > 30% of material yield strength → permanent deformation of thin-walled parts
SCHUNK Hydraulic Clamp from Germany:
▶ Distributed sensing system → Pressure control accuracy ±0.2Bar
5. Hidden Assassin of Ambient Humidity
Humidity > 60% RH → Cast iron bed expansion 0.01mm/m
Siemens Environmental Compensation Module:
▶ Real-time acquisition of temperature and humidity → CNC system automatic offset compensation
🛠️ cnc machining accuracy improvement in practice: three major industry life and death cases
Aerospace: liquid oxygen valve rescue operation
Lockheed Martin predicament:
Fuel valve sealing surface flatness exceeds 0.012mm → liquid oxygen leakage → test launch failure
The ultimate solution:
▶ Liquid nitrogen cryogenic machining (-196℃) → zero thermal deformation
▶ Diamond tool edge radius 0.1μm
Medical Implants: Battle for Zero Infection Rate
Johnson & Johnson Hip Crisis:
Spherical roughness Ra>0.4μm → Bacterial adhesion rate ↑18 times
Nanoscale Surgery:
▶ Ultrasound-assisted processing → Ra compression to 0.025μm
▶ Ion Beam Polishing → Zeroing of surface residual stresses
Car Engine: Million Kilometer Durability Code
Volkswagen EA888 Defect:
Cylinder block cylindricity exceeds 0.02mm → Oil burning rate ↑60%.
German solution:
▶ Creep cast iron material + micro-lubrication processing
▶ Real-time compensation by online measurement → Cylindricity of ±0.005mm
Economy of precision: the golden formula for cost control
1. Return on tooling investment
High-precision tooling cost = 3 times the cost of regular tooling
but scrap rate ↓70% + post-processing cost ↓50
2. Machine selection code
| sector | Repeat Positioning Accuracy Requirements | Recommended Models |
|---|---|---|
| Auto Parts | ≤±0.008mm | Demagi DMU 65 |
| Medical implants | ≤±0.003mm | Makino NXV5000 |
| consumer electronics | ≤±0.015mm | Haas VF-4SS |
Conclusion: Sculpting Industrial Civilization in the Nanoworld
CNC machining accuracy is not a cold parameter, but an extreme art interpreted with the body of steel. When the tip of diamond knife dances in ±0.1μm tremor, when the coordinate probe executes nano-trial at constant temperature 23℃ – these victories on the microscopic battlefield are guarding the boundaries of human science and technology.
